CSS is all about styling containers. In fact, the whole website is made of containers, from the website viewport to components on a webpage. However, every now and then a new element emerges that prompts us to reevaluate our design philosophy.
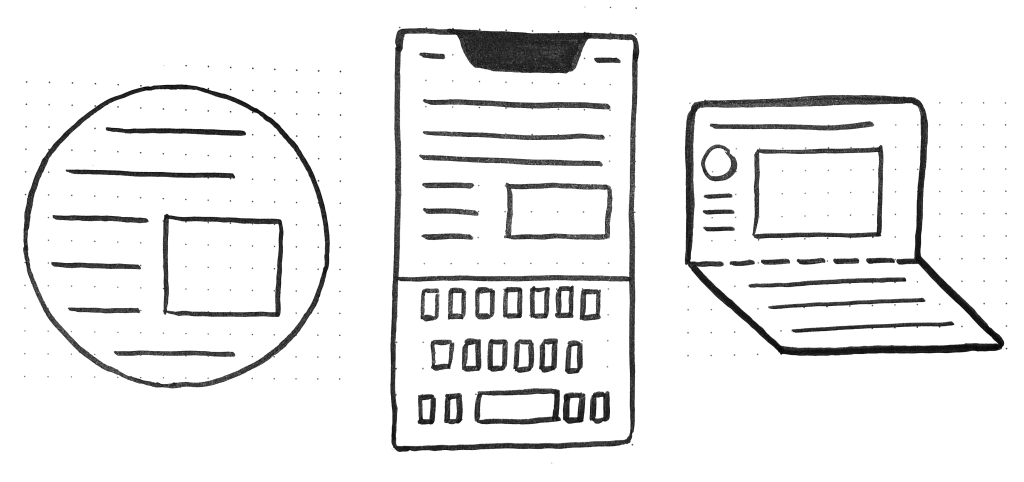
Square features, for instance, make it fun to play with round picture areas. Mobile display holes and electronic keyboards offer issues to best manage content that stays clear of them. Additionally, dual-screen or portable devices force us to consider how to make the most of the available space in various device configurations.
These latest changes to the online platform have made it both more challenging and fascinating to design items. They’re wonderful opportunities for us to break out of our triangular containers.
I’d like to talk about a new feature similar to the above: the Window Controls Overlay for Progressive Web Apps ( PWAs ).
Democratic Web Apps are bridging the gap between websites and apps. They combine the best of both worlds. On the one hand, they’re flexible, relatable, and stable, just like sites. On the other hand, they provide more effective features, work online, and read documents just like local apps.
As a style area, PWAs are really exciting because they challenge us to think about what mixing online and device-native user interface can get. We have more than 40 years of experience telling us what applications should look like, especially on desktop computers, and it’s challenging to get out of this mental model.
At the end of the day though, PWAs on desktop are constrained to the window they appear in: a rectangle with a title bar at the top.
What a typical desktop PWA app looks like:
Sure, as the author of a PWA, you get to choose the color of the title bar (using the Web Application Manifest theme_color property ), but that’s about it.
What if we could consider other ways and reclaim the entire window in the app? Doing so would give us a chance to make our apps more beautiful and feel more integrated in the operating system.
The Window Controls Overlay offers exactly this. This new PWA functionality makes it possible to take advantage of the full surface area of the app, including where the title bar normally appears.
About the title bar and window controls
Let’s get started with an explanation of the title bar and window controls.
The title bar is the area displayed at the top of an app window, which usually contains the app’s name. The buttons or buttons that are displayed at the top of an app’s window are the ones that allow it to minimize, maximize, or close its window.
Window Controls Overlay removes the physical constraint of the title bar and window controls areas. The title bar and window control buttons can be overlayed on top of the application’s web content, allowing it to free up the entire height of the app window.
If you are reading this article on a desktop computer, take a quick look at other apps. Chances are they’re already doing something similar to this. In fact, the web browser you are using uses the top area to display tabs.
Spotify displays album artwork to the top of the application window at the very top.
Microsoft Word uses the available title bar space to display the auto-save and search functionalities, and more.
The whole point of this feature is to allow you to make use of this space with your own content while providing a way to account for the window control buttons. And it makes it possible to offer this modified experience across a variety of platforms without having a negative impact on browsers or other devices that don’t support Window Controls Overlay. After all, PWAs are all about progressive enhancement, so this feature is a chance to enhance your app to use this extra space when it’s available.
Let’s use the feature.
For the rest of this article, we’ll be working on a demo app to learn more about using the feature.
The demo app is called 1DIV. Users can create designs using CSS and a single HTML element in a simple CSS playground.
The app has two pages. The first lists the CSS designs you’ve already created:
The second page enables you to create and edit CSS designs:
We can install the app as a PWA on the desktop because I added a straightforward web manifest and service worker. Here is what it looks like on macOS:
And on Windows:
Our app is looking good, but the white title bar in the first page is wasted space. It would be really nice if the design area reached the top of the app window on the second page.
Let’s use the Window Controls Overlay feature to improve this.
Enabling Window Controls Overlay
The feature is still experimental at the moment. To try it, you need to enable it in one of the supported browsers.
It has currently been incorporated into Chromium as a result of a collaboration between Microsoft and Google. We can therefore use it in Chrome or Edge by going to the internal about: //flags page, and enabling the Desktop PWA Window Controls Overlay flag.
Using the overlay of Window Controls
To use the feature, we need to add the following display_override member to our web app’s manifest file:
{ "name": "1DIV", "description": "1DIV is a mini CSS playground", "lang": "en-US", "start_url": "/", "theme_color": "#ffffff", "background_color": "#ffffff", "display_override": [ "window-controls-overlay" ], "icons": [ ... ]}On the surface, the feature is really simple to use. The only thing we need to change is this manifest change, which will make the title bar disappear and convert the window controls into an overlay.
However, to provide a great experience for all users regardless of what device or browser they use, and to make the most of the title bar area in our design, we’ll need a bit of CSS and JavaScript code.
Here is how the app currently looks:
Our logo, search field, and NEW button are now partially obscured by the window controls because our layout now begins at the top of the window, which is what we wanted.
It’s similar on Windows, with the difference that the close, maximize, and minimize buttons appear on the right side, grouped together with the PWA control buttons:
Using CSS to keep clear of the window controls
New CSS environment variables have also been added in addition to the feature:
titlebar-area-xtitlebar-area-ytitlebar-area-widthtitlebar-area-height
You use these variables with the CSS env ( ) function to position your content where the title bar would have been while ensuring it won’t overlap with the window controls. Our header, which includes the logo, search bar, and NEW button, will be placed using two of the variables in our case.
header { position: absolute; left: env(titlebar-area-x, 0); width: env(titlebar-area-width, 100%); height: var(--toolbar-height);}The titlebar-area-x variable gives us the distance from the left of the viewport to where the title bar would appear, and titlebar-area-width is its width. (Remember, this is not equivalent to the width of the entire viewport, just the title bar portion, which as noted earlier, doesn’t include the window controls.)
By doing this, we make sure our content remains fully visible. We’re also defining fallback values (the second parameter in the env() function) for when the variables are not defined (such as on non-supporting browsers, or when the Windows Control Overlay feature is disabled).
Now our header adapts to its surroundings, and it doesn’t feel like the window control buttons have been added as an afterthought. The interface resembles a native app much more.
Changing the window controls background color so it blends in
Now let’s take a closer look at our second page: the CSS playground editor.
Not very good. Our CSS demo area does go all the way to the top, which is what we wanted, but the way the window controls appear as white rectangles on top of it is quite jarring.
We can fix this by changing the app’s theme color. There are a few ways to define it:
- PWAs can define a theme color in the web app manifest file using the theme_color manifest member. The OS then uses this color in various ways. On desktop platforms, it is used to provide a background color to the title bar and window controls.
- Websites can use the theme-color meta tag as well. It’s used by browsers to customize the color of the UI around the web page. For PWAs, this color can override the manifest
theme_color.
In our case, we can set the manifest theme_color to white to provide the right default color for our app. The OS will read this color value when the app is installed and use it to make the window controls background color white. This color works great for our main page with the list of demos.
The theme-color meta tag can be changed at runtime, using JavaScript. So we can do that to override the white with the right demo background color when one is opened.
Here is the function we’ll employ:
function themeWindow(bgColor) { document.querySelector("meta[name=theme-color]").setAttribute('content', bgColor);}With this in place, we can imagine how using color and CSS transitions can produce a smooth change from the list page to the demo page, and enable the window control buttons to blend in with the rest of the app’s interface.
Dragging the window
Now, getting rid of the title bar entirely does have an important accessibility consequence: it’s much more difficult to move the application window around.
Users can use the Window Controls Overlay feature to move the window, but this area becomes limited to where the control buttons are, and they must carefully aim between these buttons to move the window. However, the title bar offers a sizable area for users to click and drag.
Fortunately, this can be fixed using CSS with the app-region property. This property is, for now, only supported in Chromium-based browsers and needs the -webkit- vendor prefix.
We can use the following to make any feature of the app a drag target for the window:
-webkit-app-region: drag;
It is also possible to explicitly make an element non-draggable:
-webkit-app-region: no-drag;
These choices might be beneficial to us. We can make the entire header a dragging target, but make the search field and NEW button within it non-draggable so they can still be used as normal.
However, because the editor page doesn’t display the header, users wouldn’t be able to drag the window while editing code. Let’s take a different strategy, then. We’ll create another element before our header, also absolutely positioned, and dedicated to dragging the window.
... .drag { position: absolute; top: 0; width: 100%; height: env(titlebar-area-height, 0); -webkit-app-region: drag;}With the above code, we’re making the draggable area span the entire viewport width, and using the titlebar-area-height variable to make it as tall as what the title bar would have been. This way, our draggable area is aligned with the window control buttons as shown below.
And, now, to make sure our search field and button remain usable:
header .search,header .new { -webkit-app-region: no-drag;}Users can click and drag where the title bar used to be using the above code. It is an area that users expect to be able to use to move windows on desktop, and we’re not breaking this expectation, which is good.
Adapting to window resize
It may be useful for an app to know both whether the window controls overlay is visible and when its size changes. The search field, logo, and button would need to be pushed down a little bit if the user made the window very narrow.
The Window Controls Overlay feature comes with a JavaScript API we can use to do this: navigator.windowControlsOverlay.
Three intriguing things are provided by the API:
navigator.windowControlsOverlay.visiblelets us know whether the overlay is visible.navigator.windowControlsOverlay.getBoundingClientRect()lets us know the position and size of the title bar area.navigator.windowControlsOverlay.ongeometrychangelets us know when the visibility or size change.
Let’s use this to be aware of the size of the title bar area and move the header down if it’s too narrow.
if (navigator.windowControlsOverlay) { navigator.windowControlsOverlay.addEventListener('geometrychange', () => { const { width } = navigator.windowControlsOverlay.getBoundingClientRect(); document.body.classList.toggle('narrow', width < 250); });}In the example above, we set the narrow class on the body of the app if the title bar area is narrower than 250px. We could do something similar with a media query, but using the windowControlsOverlay API has two advantages for our use case:
- It’s only fired when the feature is supported and used, we don’t want to adapt the design otherwise.
- We can see the title bar area on different operating systems, which is great because Mac and Windows have different title bar sizes. Using a media query wouldn’t make it possible for us to know exactly how much space remains.
.narrow header { top: env(titlebar-area-height, 0); left: 0; width: 100%;}When the window is too small, we can use the above CSS code to move our header down and move the thumbnails down in accordance with this.
Thirty pixels of exciting design opportunities
We were able to convert our simple demo app to something that felt much more connected to desktop devices by using the Window Controls Overlay feature. Something that reaches out of the usual window constraints and provides a custom experience for its users.
In reality, this feature only gives us about 30 more pixels of room and presents challenges when using the window controls. And yet, this extra room and those challenges can be turned into exciting design opportunities.
More devices of all shapes and forms get invented all the time, and the web keeps on evolving to adapt to them. New features are added to the web platform to make it easier for web authors to integrate more and more fully with those devices. From watches or foldable devices to desktop computers, we need to evolve our design approach for the web. We can now think outside the rectangular box when building for the web.
So let’s embrace this. Let’s use the standard technologies already at our disposal, and experiment with new ideas to provide tailored experiences for all devices, all from a single codebase!
If you have the chance to try the Window Controls Overlay feature and have feedback on it, you can open issues in the spec’s repository. It’s still early in the development of this feature, and you can help make it even better. You can also check out this demo app and its source code, or the feature’s existing documentation.
Recommended Story For You :

GET YOUR VINCHECKUP REPORT

The Future Of Marketing Is Here

Images Aren’t Good Enough For Your Audience Today!

Last copies left! Hurry up!

GET THIS WORLD CLASS FOREX SYSTEM WITH AMAZING 40+ RECOVERY FACTOR
Browse FREE CALENDARS AND PLANNERS
Creates Beautiful & Amazing Graphics In MINUTES

Uninstall any Unwanted Program out of the Box
Did you know that you can try our Forex Robots for free?
Leave a Reply